You can also be interested in these:
While working in Adobe Photoshop, the use of shortcuts can cut a huge deal of time in design and production pieces. If we sum up all those little mouse trips back and forth from the tool bar, we will end up with a massive amount of unnecessary time wasted. Replacing all those little tasks that we constantly perform in our workflow can be the key to ensure the deadlines are being met at the end of the production cycle. Tasks like deselecting can leave a huge trail in the overall turn-around time. That is why learning how to deselect in Photoshop become so important in the long run.

Deselect by definition
There are several states and tools functionality you can “deselect” in Adobe Photoshop. Whether you want to turn off the functional state of a tool, like going in and out of the Mask Mode, or simply dismissing one selection area can be counted as deselecting. Normally, the later is what takes the standard definition of deselecting, since it is done through the “selection” tool.
How to deselect in Photoshop?
If you want to know how to deselect in Photoshop performing the normal procedure, you can do it using the same tool you use to draw selection. You can select the square or circular marquee tool, and having a selection area already active, just by clicking outside the boundaries of that area the selection will automatically be dismissed.
You can also cut a little bit of time from the previous procedure and instead of going all the way to the tool box and activating the tool, you can press “M” on your keyboard, and the marquee tool will be selected immediately. The only thing left is to click outside the selection to wipe it out.
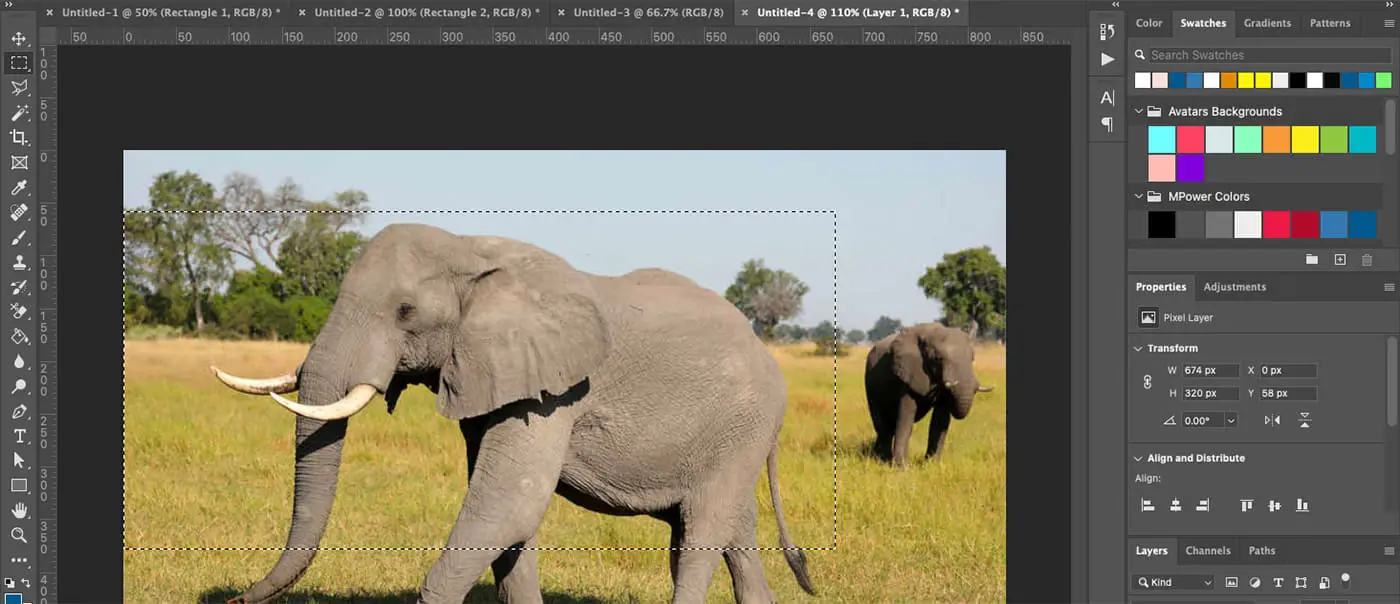
There is an even easier way on how to deselect in Photoshop. There is a dedicated shortcut to clear the active selection area from the Photoshop art board. Just by pressing CTRL + D (on PC), or CMD + D (on Mac) we will get this effect.
How to deselect a layer in Photoshop?
Layers are another type of selectable items we can choose to modify its properties. If we select a layer, all modifications, effects and filters will be applied to that active element. We can select a layer just by clicking on them in the layers panel.
To deselect a layer it is a different story. We can always select another layer to protect the one we don’t need to change, but in that case the newly selected layer will asume the transformations. If we get to see a little empty area in the layers panel, we can deselect any selected layers by clicking on it.
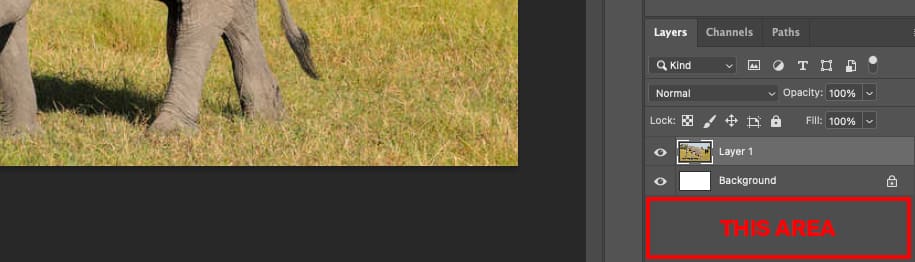
If we have a long list of layers in the layer panel and there is no empty areas on it, we can select the move tool and go to an area where there is no layers or visual data on the art board (it can even be the dark grey area outside the boundaries of the art board). Afterwards we perform CTRL + Left Mouse Click (on PC) or CMD + Left Mouse Click (on Mac), and any layer previously activated will become deselected. The only catch with this method is, you have to disable the “Auto-Select” feature of the move tool.
How to deselect the quick mask mode in Photoshop?
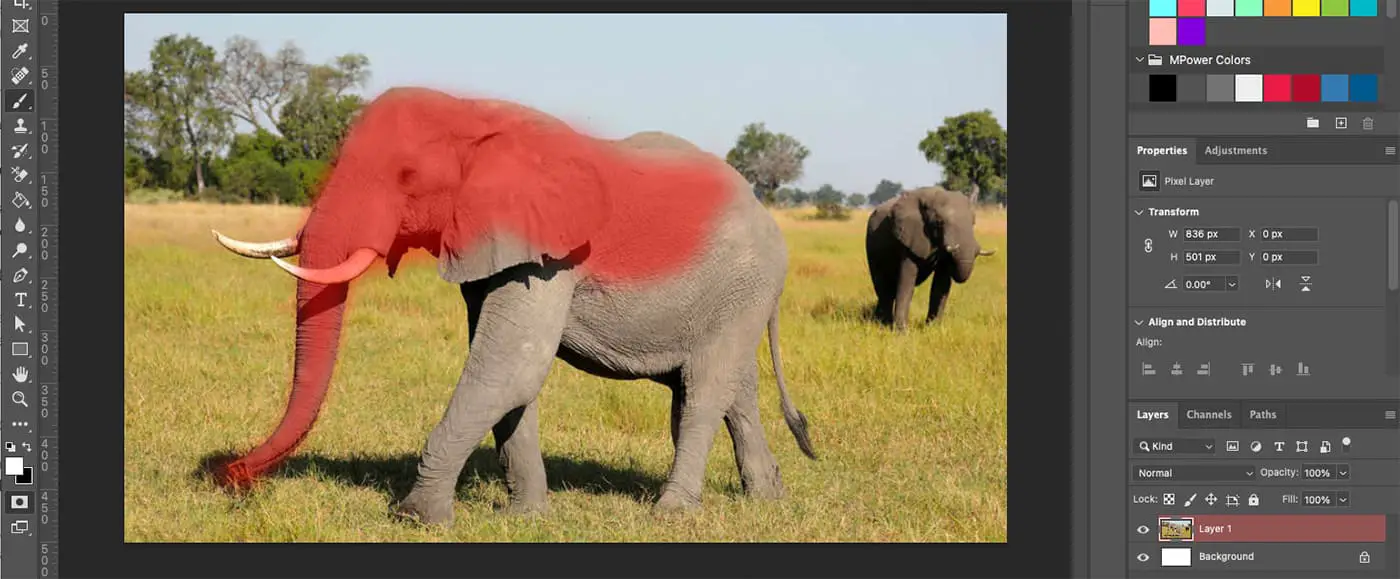
On the other hand, you can also “paint” a selection with the quick mask mode in Photoshop. This mode is great to have a visual representation of the influence of the selection over the layer. Moreover, Once inside this mode there is no apparent way to go back to the normal selection interface. That can be really confusing, specially to unexperienced users.
There is one button that toggles this mode. It is located right below the foreground / background color selection tools. The icon is a square with a dashed-line circle inside it. A good indication you are inside quick mask mode is the colors will be only black and white (representing the 0 or 100 percent opacity selections). Also another queue you are indeed on this mode is the brush tool: Once you try to draw with it, you will see red brush strokes instead of painting with the selected color.
To go in and out fairly rapidly of this mode you can toggle it just by pressing the Q key. That way it will be rather quick to incorporate the mask mode in your workflows.
When you hear the question: “how to deselect in Photoshop” it can have many answers, according with the type of function you want to deselect. Now you know 3 different ways on how to deselect in Photoshop.