You can also be interested in these:
- How to fix the Wyze error code 90
- What to look out in a cheap high-quality camera
- Why won’t my laptop connect to WiFi? 17 step-by-step solutions
- How to fix Vudu playback error: Full troubleshoot guide
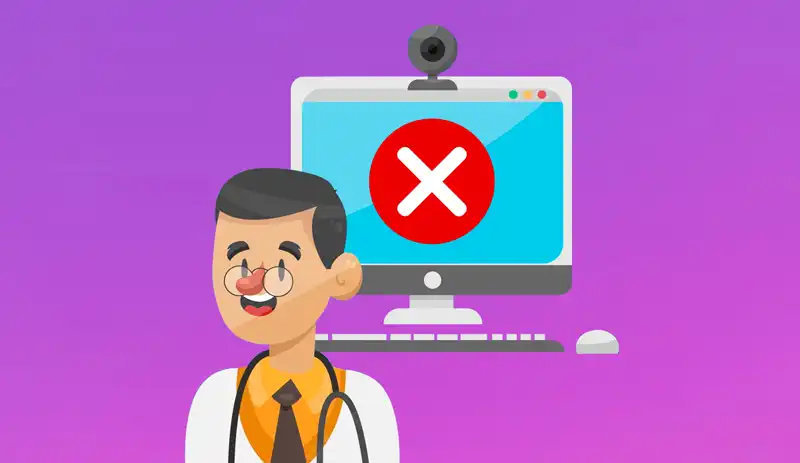
If you have ever wondered how to verify the correct functioning of your web camera, this guide is for you. Before an important video conference, such as a job interview or a medical appointment, it is essential to ensure that the camera is in good condition to avoid inconvenience. Here we show you how you can perform a preventive diagnosis.
Verification of the web camera in Windows 10 or 11
If you use Windows 10 or 11, an option to check your web camera is to use the Camera app that is already included in the system. Follow these simple steps:
- Press the Start button.
- In the search box, type “Camera”.
- Select the Camera app when it appears in the results.
- Turn on your web camera and verify that the image appears in the app window.
- You can test the video and microphone. You can even record a test clip to check the video quality if you plan to do streaming.
- Press the video camera icon to start recording.
- To stop the recording, press the red icon.
- Press Play to view the recorded video in the thumbnail to the right of the screen.
Check your web camera with Microsoft Teams (Windows)
An option to verify the functioning of your web camera is through the Microsoft Teams business software, especially useful if you use it for teamwork or professional purposes. To do this, follow these steps:
- Start the Microsoft Teams application.
- Click on Settings and more at the top right (three dots).
- Select Settings from the drop-down menu.
- Go to Devices.
- Turn on your web camera.
- Press the Make a test call button.
- The Teams Echo chatbot will guide you in recording a brief message to also check the microphone and speakers, and you will see the transmission of your camera in the center of the screen.
Check your webcam with Zoom (Windows, macOS, iOS, Android, Chrome OS, and GNU/Linux)
Another application that became popular during quarantine was Zoom. It was used both for telework and for teaching online. This app also has a function to check the operation of the webcam. The steps are as follows:
- Open the Zoom application on your computer.
- Go to the gear icon on the main screen, i.e., Settings.
- Press Video.
- Finally, turn on your webcam if it is not already on and you will see the preview on the screen if everything is working well.
How to test the webcam in Skype (compatible with Windows, macOS, GNU/Linux, iOS, and Android)
Skype, an application acquired by Microsoft, is an instant messaging and video call app. To make sure everything is working properly before a video conference, follow these steps:
- Open the Skype application on your system.
- Go to the top left of the screen, next to your username and press More (three dots).
- Select Settings in the pop-up menu.
- Enable the webcam.
- Go to the Audio and Video section and press Video.
- In Camera, a preview should appear if everything is working correctly.
- You can also adjust the video quality in the Camera Settings section.
How to test the webcam in Photo Booth on Mac
If you have a Mac with the macOS operating system, you can use the Photo Booth application to test your webcam. Follow these simple steps:
- Launch the Photo Booth app from the Launchpad or using the Command + Space combination and typing its name.
- In the menu, select Camera.
- Select the webcam you want to use (if you only have one, it will be selected automatically) and make sure it is turned on.
- In the bottom right corner, press the video icon.
- Press the red recording button to create a test video.
- Verify that everything works properly, including the sound.
How to use Google Meet to test the webcam (Android, iOS and Web)
Google Meet is a Google video conferencing application that can be used on iOS and Android mobile devices or on any operating system through a web browser. To test the webcam before a meeting with Google Meet, follow these steps:
- Visit meet.google.com.
- Sign in with your GMAIL email account.
- Press New Meeting.
- Choose Create a meeting for later.
- An access link to the meeting will be automatically generated. Open a new tab in the browser and enter the link in the address bar and follow the link.
- You will see a message that says Ready to join?.
- Here you can see a preview of your webcam if it is turned on. If you are not satisfied, you can also test the audio and video by clicking on the • Verify your audio and video button.
- In the next screen, select Capture and diagnose. A clip will be recorded so you can see the results.
- The recording will automatically stop and take you to the playback screen so you can see how the recording turned out, both in terms of image quality and sound. Simply click Play.
How to test your webcam on any operating system using Webcam Test
Finally, there is an easy and quick solution for any web-based operating system, the Webcam Test page. To test your camera, simply follow these steps:
- Open your preferred web browser.
- Access Webcam Test.
- You will see an icon with a camera and below it, “Press to start,” click there.
- If everything is working correctly, you should see the video from your webcam. In addition, you can rotate the video horizontally, use full-screen mode, etc.
- If something goes wrong, a red error message will appear. If the test is successful, it means that your camera is working perfectly. However, there may be configuration or permission problems when using applications like Whatsapp, Skype, Zoom, etc. That is why it is better to test in the application that you are going to use for the video call, as explained in the previous paragraphs.
Final tips for detecting errors in your webcam
If the camera test fails in any of the above, this can mean several things that you must check to solve the problem. Some common problems are:
- If it is not an integrated camera, it may not be properly connected to the computer.
- If it is integrated or properly connected, make sure it has a switch to turn it on.
- Some portable computers even have switches on the keyboard to improve privacy or settings in the BIOS/UEFI to activate or deactivate the camera.
- If everything seems to be in order with respect to the above points, try changing the port or checking if the camera works.
- If it is not a hardware problem, you should try different programs and configurations, as some settings might be preventing its use, such as privacy settings that deactivate the webcam or permissions.
More stories like this
- How to fix the Wyze error code 90
- What to look out in a cheap high-quality camera
- Why won’t my laptop connect to WiFi? 17 step-by-step solutions
- How to fix Vudu playback error: Full troubleshoot guide
- Data migration: How to move your business data
- How to build a review website?