You can also be interested in these:
- Zelda BOTW Ishto Soh Shrine full guide
- Zelda BOTW Mirro Shaz Shrine full guide
- Zelda BOTW Shae Loya Shrine full guide
- Zelda Breath of the Wild: The Shee Vaneer Shrine guide
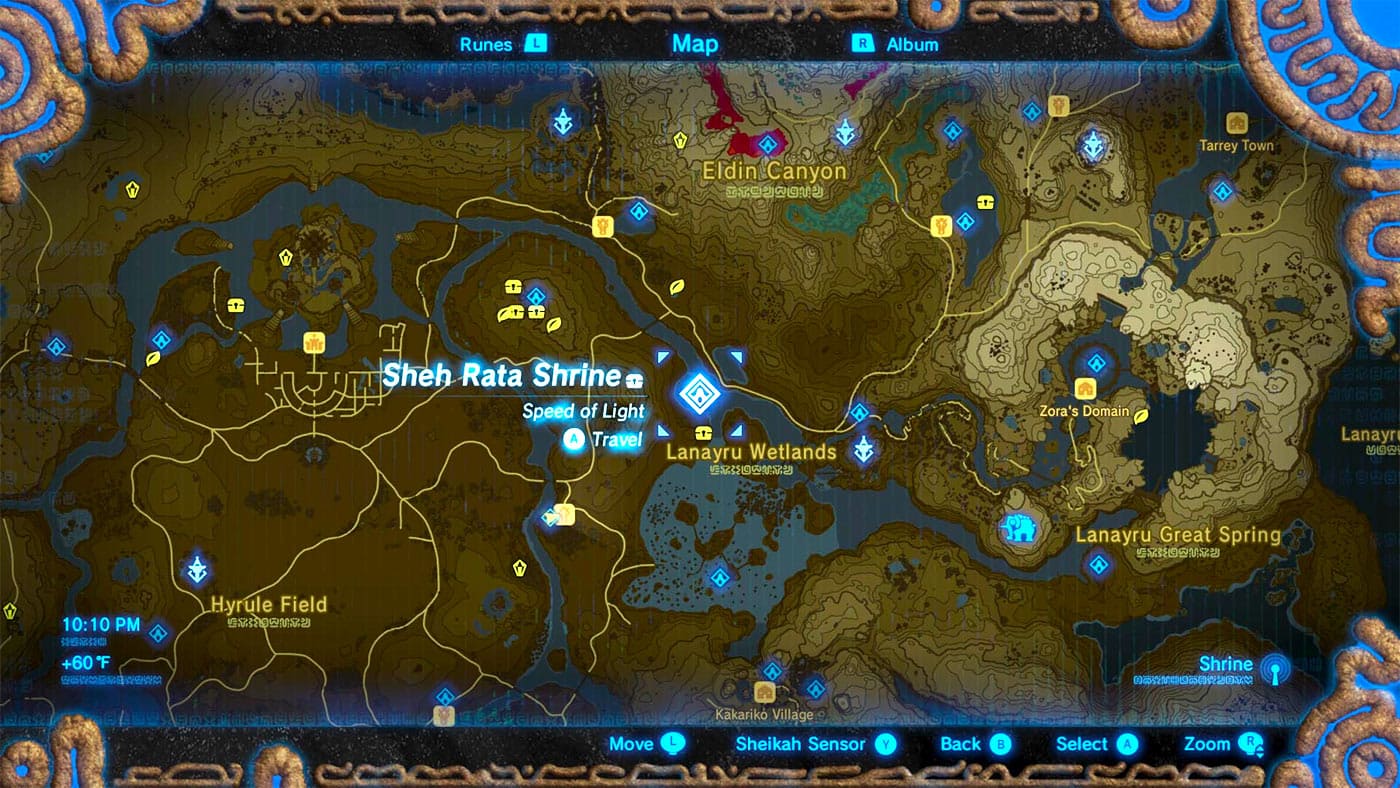
The Sheh Rata Shrine is located in the Lanayru Region in the Lanayru Wetlands. It’s located in the Northwest section of the region, to the West of the Zora’s Domain. If you’re in the Zora’s Domain, just follow the river out and keep going straight ahead until you reach Crenel Peak. Alternatively, you can follow the road from the Cooking Pot closest to the Zora Domain’s entrance and then swim over to the shrine’s entrance when you see it on your left. It’s also to the North of the Moor Garrison Ruins, but you will need to swim there.
Some enemies in the surrounding areas that you’ll need to watch out for are Blue ChuChus, Red Bokoblins, Blue Bokoblins, Keese, Lizalfos, Black Lizalfos, and Stalkoblins. There are also a few Korok Seeds in the nearby areas as well, so take your time to explore, gather up resources, and find those seeds before you begin your challenge. Of course, you can explore the areas after you complete the Sheh Rata Shrine, but leveling up is never a bad idea.
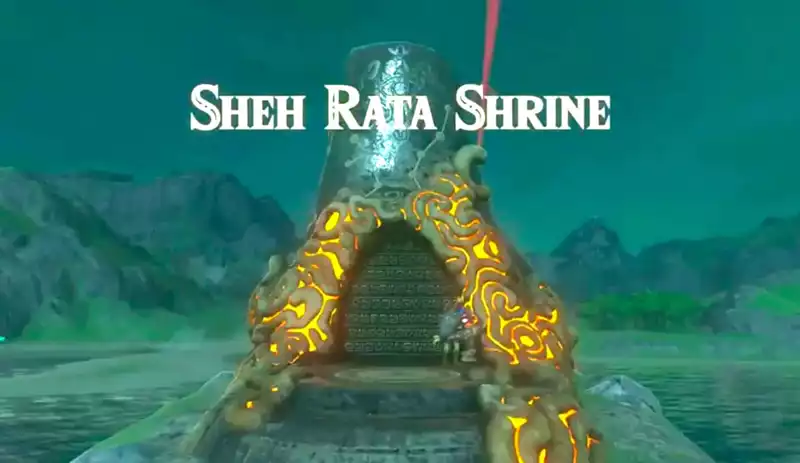
Getting access to Sheh Rata Shrine
In order to get to the shrine’s entrance, you can burn away the thorns that cover the entrance with a Fire Arrow or a torch. Please note that if the weather is rainy in the region, you will not be able to set the thorns on fire. If you don’t have any Fire Arrows or access to fire, you can climb Crenel Peak in order to access the entrance. This shrine deals with puzzles relating to water and changing water levels. If you’ll be taking on this shrine, make sure that you’re adept with Magnesis, Stasis, and Crynosis.
Rising the water level
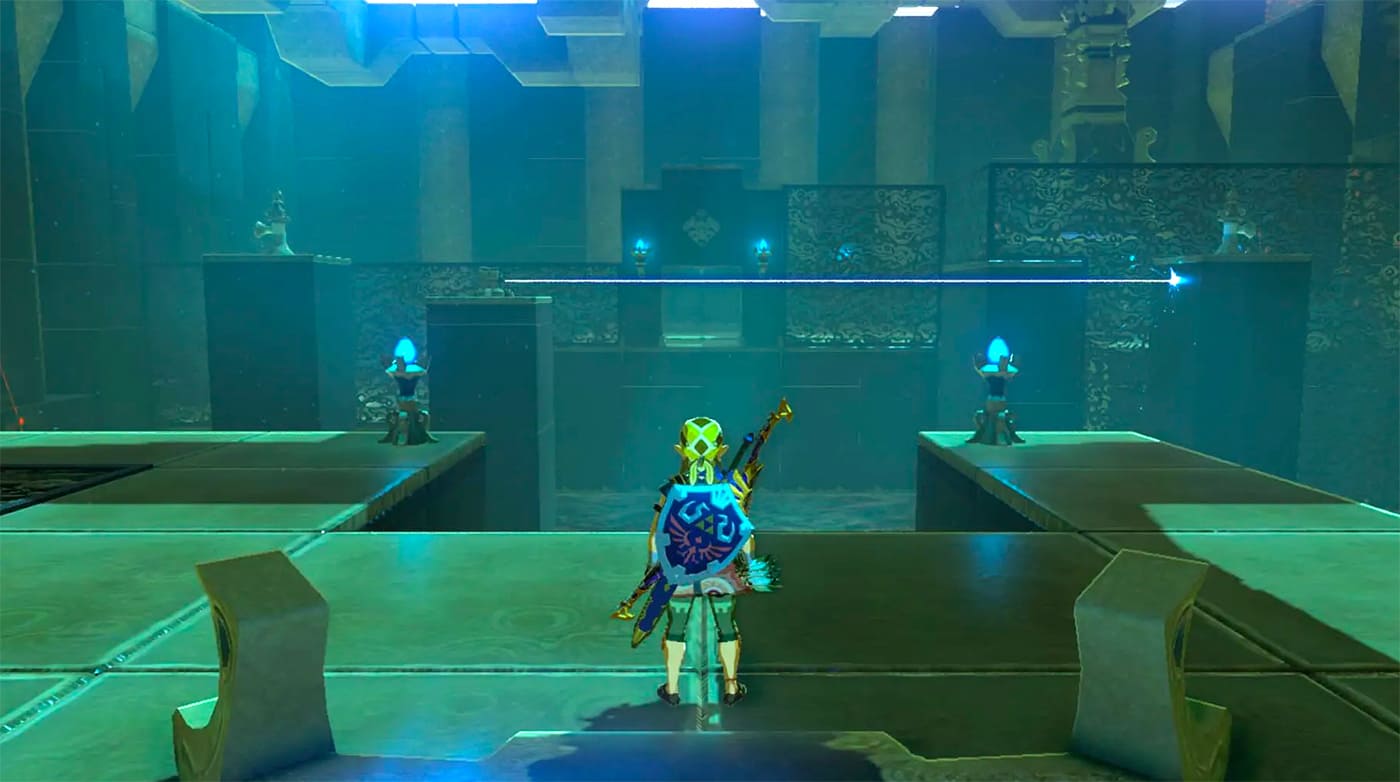
This shrine is introduced with the title ‘Speed of Light.’ Once entering the Sheh Rata Shrine, you’ll be able to see there are a few large pillars, one of them moving back and forth horizontally, along with a beam of light that stretches from one pillar on the left side of the screen to a pillar on the right. There is also an entryway straight ahead, but it’s too high up for you to reach without some assistance.
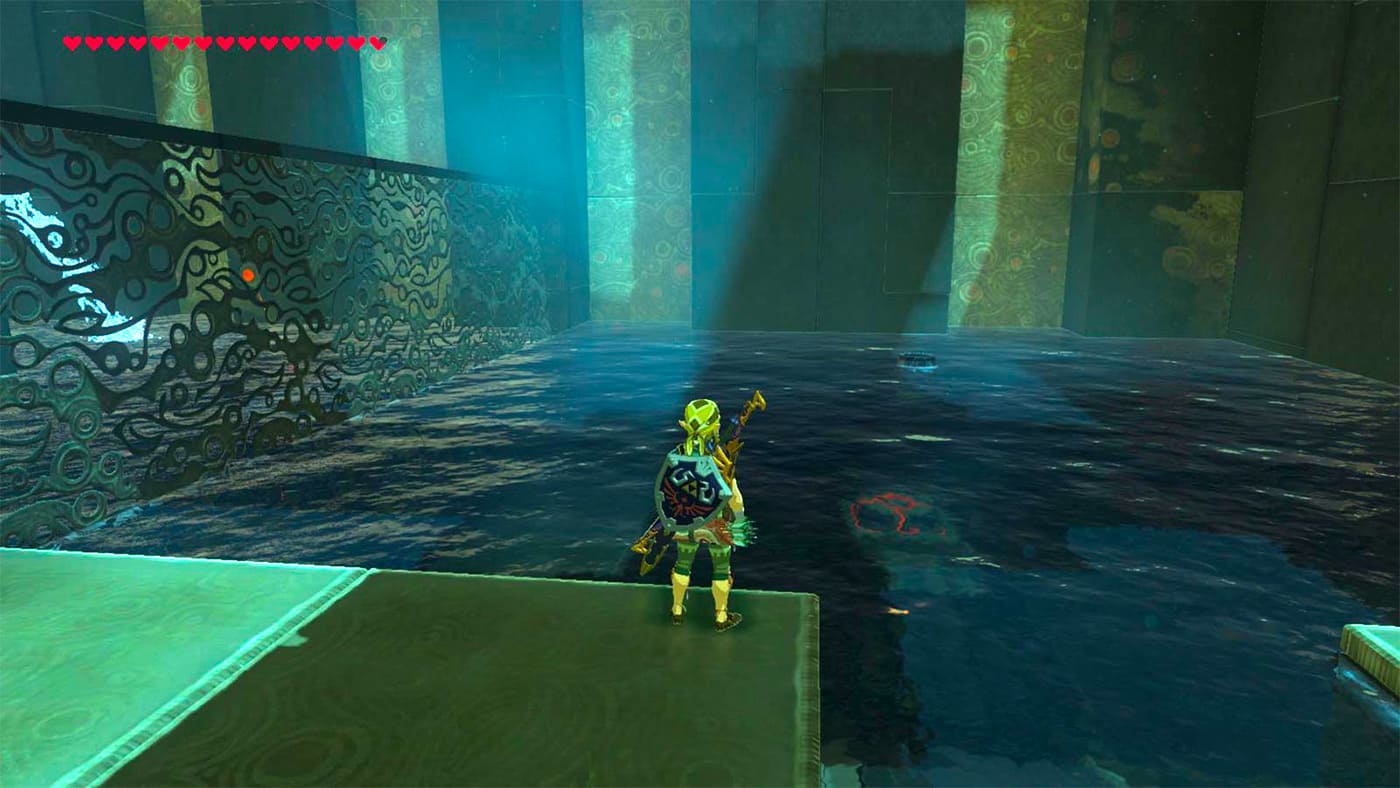
On the right, there’s a ledge you can drop down to in order to get the treasure chest hidden there. Remember to do so before you head out of the shrine, or you’ll miss your chance for an Opal. To your left is a large gear apparatus that you’re able to push against. Push against it as long as you’re able to in order to raise the water level in the Sheh Rata Shrine after a few seconds. Quickly head to the stairs and go straight ahead to wait at the wall. The water in the shrine will rise, allowing you to access the doorway that you wouldn’t have been able to reach normally.
The metal barrel
As you walk through the doorway, there will be a metal barrel on your left next to a ramp submerged in water. You can use Magnesis on the barrel in order to move it freely around the Sheh Rata Shrine. Moving to where the barrel was originally stationed will reveal a trigger under the water. You’ll need to lift the barrel and drop it into the water so that it floats right above the trigger.
In order to drop the barrel onto the trigger, you’ll need to backtrack to the Sheh Rata Shrine’s entrance to turn the gear again in order to lower the water level back to where it was when you first entered the shrine. Quickly swim back to the doorway before the water level lowers and you’ll be able to see the barrel you placed lower right onto the trigger. Once the trigger is hit, a door behind the ramp will open and you’ll be able to proceed to the next section of the temple.
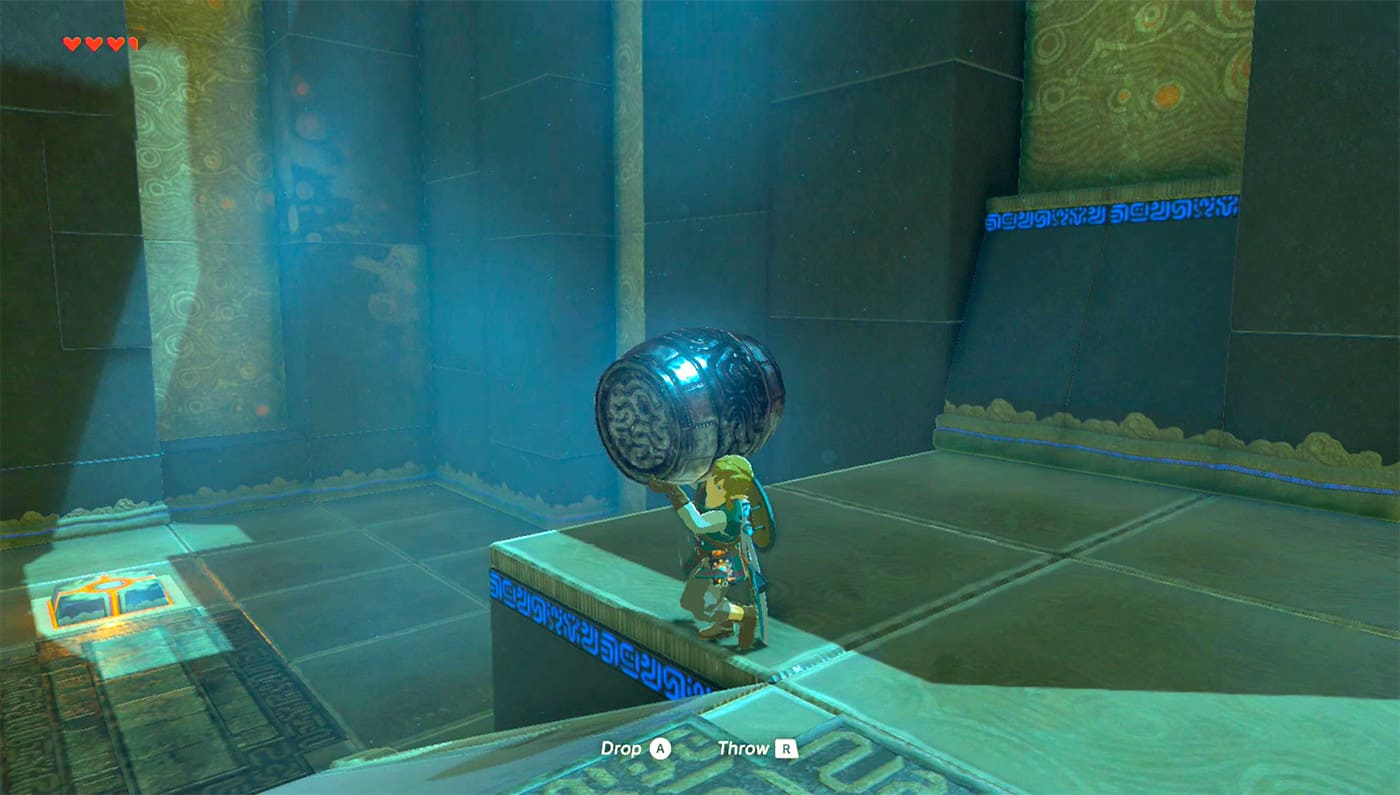
Before you can go through that door, you’ll need to use Magnesis again in order to bring the barrel off of the trigger and over the wall with the door. Since the barrel is off the trigger, the door will close, so you’ll need to go on the trigger yourself and use Stasis on it in order to keep the door open long enough for you to walk through.
The water fountain
Once through the door, use Magnesis on the barrel again in order to lift it over the wall to your right to hit the glowing orange crystal. Once the crystal is hit, it will change from orange to blue and a fountain nearby will start spouting water. The water level will rise on both sides of the wall and, once the fountain finishes, you’ll be able to use Crynosis on the water to get to the second chest that’s on a ledge next to the wall. The chest contains the Giant Boomerang, so it’s definitely worth your while to grab during your first foray into the shrine.
Once you’ve gotten the chest, you can head over to Monk Sheh Rata, who will provide you with the Spirit Orb of the shrine. The Monk will disappear and the platform they were on is now your way out of the shrine. The Spirit Orb restores your health, so you can head out of the Sheh Rata Shrine to continue your journey through Hyrule with a full health bar!
Final remarks
If you need to, you can always head back into the shrine if you happen to miss one of the chests. If you want to challenge yourself, try to complete the shrine using other methods that you have at your disposal. There are numerous ways to beat the shrine’s puzzle, so utilize the tools that you do have access to in order to complete Sheh Rata Shrine in your own way!
Helpful Hints: Keep the sound on while you’re playing. If switches and apparatuses are activated, a small chime will play to let you know. Use this if you’re working through different ways to solve the Sheh Rata Shrine.
Other shrine locations:
- Zelda BOTW Shee Vaneer Shrine guide
- Zelda BOTW Mirro Shaz Shrine guide
- Zelda BOTW Shae Loya Shrine guide
More stories like this
- Zelda BOTW Ishto Soh Shrine full guide
- Zelda BOTW Mirro Shaz Shrine full guide
- Zelda BOTW Shae Loya Shrine full guide
- Zelda Breath of the Wild: The Shee Vaneer Shrine guide
- Zelda: How to get the Lord of the Mountain BOTW mount
- H264 vs AV1 vs H265: What is the best video CODEC?