You can also be interested in these:
- How to allocate more RAM to a game for improved performance
- The best Rocket League settings for PC: Optimizing your gameplay
- Microsoft acquires Activision Blizzard
- How to get the Blasphemous Blade in Elden Ring
World of Warcraft is a rather complicated game because of all the data the player has to process at any given time. The game is flexible enough to allow the use of add-ons to alleviate, so to say, the burden of that processing. Plugins like the WoW Elvui, developed by Tukui, are the staple for those who seek a more advanced gameplay and user experience. On this article we will dive into the depths of what is and how to update ElvUI add-on.
In the universe of World of Warcraft, like any other online multiplayer game, you will find the casual-type of player who destine his game time in the most entertaining way possible without major compromises with the game. In contrast, you will also find the hardcore player, those who are driven by goals and achievements, striving to find the higher-tier gear attainable to up their game and hence having the most advantage possible. For the latter it would be likely to see add-ons like ElvUI to leverage all the information the game provides to get that edge in our gameplay.
What is the World of Warcraft ElvUI add-on?
Put in the simplest words possible, the ElvUI is an add-on that replaces on its entirety the default Wold of Warcraft user interface system with a more robust and enhanced arrangement. It just not changes all the visual interactive units in the game, it also adds loads of functionality to it.
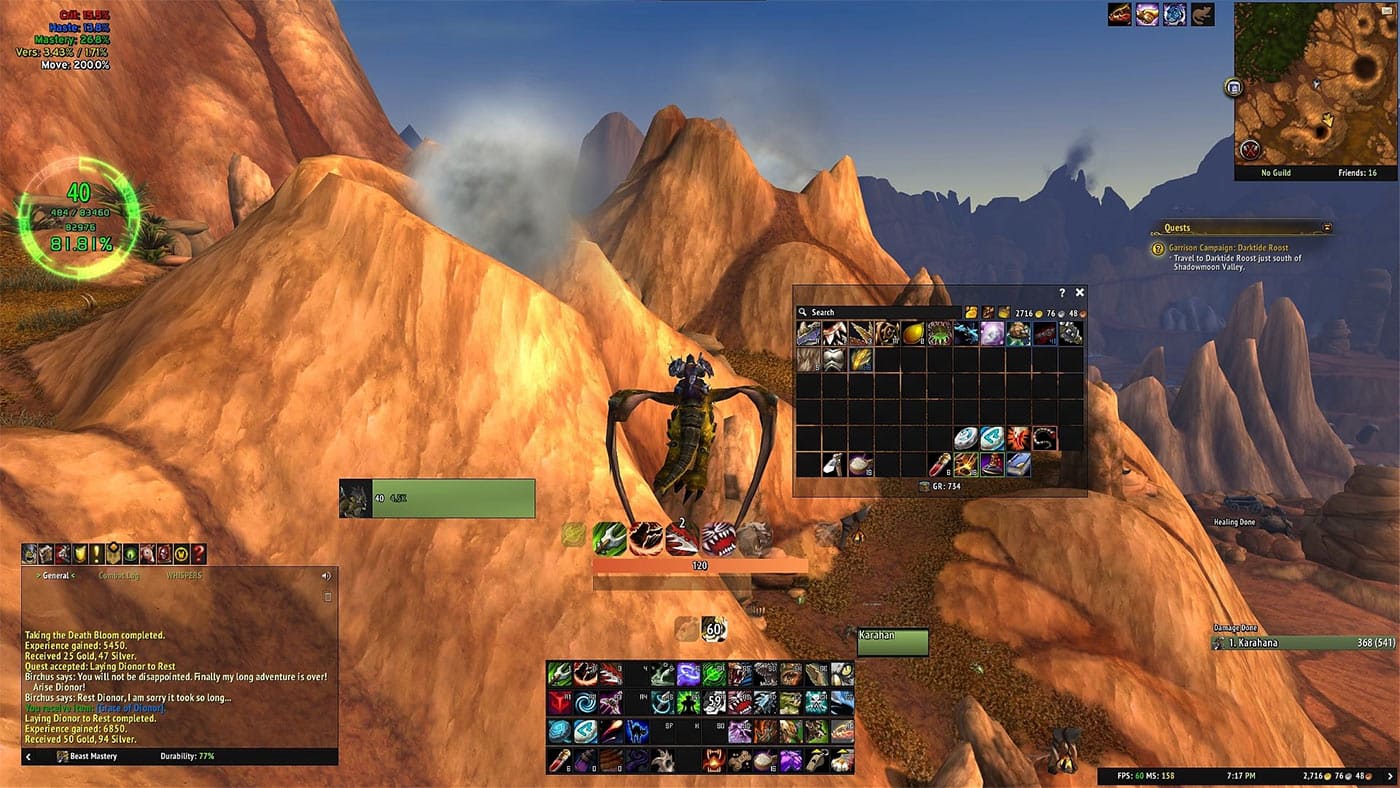
At a glance, here all you can do with the ElvUI add-on:
- You can change the look and display information on the player and target plates.
- Have a better visual queue on cool-downs and in-combat events.
- Change the layout, arrangement and the aspect of any panel or visual interface unit in the game.
- Add skins and themes for an off-the-shelf cosmetic revamp of the game UI.
- Allows to be further extended with custom options and functionality.
- You can save your settings conveniently in profiles to share with other characters and friends.
- Provides critical information to ensure top performance for any class in-game throughout, DPS, healing and tanking interfaces.
- Bag management.
- Keep track of buffs and de-buffs.
- Customizable action bars to conveniently locate all your skills.
- Change every imaginable thing on the map and chat panels.
- A way lot more.
The WoW ElvUI add-on comes conveniently packed in modules covering each different set of functionalities. For instance, if you have an add-on that modifies the look of the chat box, it might conflict with ElvUI and therefore not work properly. Rather, you can disable the module that corresponds to that specific functionality and you can have both plugins co-existing in the game. In the event you have another add-on that overlaps in functionality, you will have to disable the corresponding module in ElvUI.
How to update ElvUI add-on?
If you wonder how to update ElvUI add-on, there are two ways you can go about it (only for Windows, Mac users have to do the manual method). If you are afraid of your settings being wiped-out by the new installation, fear not. All the settings you have in your actual installation are saved in a different location. To be more specifically, all settings are stored in the WTF folder, outside from the Interface/AddOns archive.
a) Update ElvUI – Manual method
- The first thing you have to do, is to make sure to download the most-up-to-date version of the add-on. For that you can go to the Tukui website and download it by clicking on the top navigation bar the option “Add-on”, then “ElvUI”. Here you will be prompted to select the version of the add-on you wish to have: select “Retail” for BFA / Shadowlands, “Classic” for World of Warcraft Classic and “Classic TBC” for The Burning Crusade.
- Next you have to extract the contents of the ZIP file. Make sure you don’t rename the resulting folder.
- Go to the Warcraft installation folder and then navigate to Interface/AddOns.
- Delete the UlvUI folder on this location. This is to prevent any lingering file after you overwrite the entire folder.
- Copy the folder you extracted from the ZIP file onto this location.
- Further steps will be taken after running the game. In the meantime that is all there is to it. That is how to update ElvUI add-on manually.
b) Update ElvUI – Client method
If you only wish to update your WoW ElvUI installation, chances are you have the Tukui client app already installed. For the client ElvUI update you need to create an account on the Tukui website. Just remember those credentials for every time you need to update in the future.
Updating using the client software:
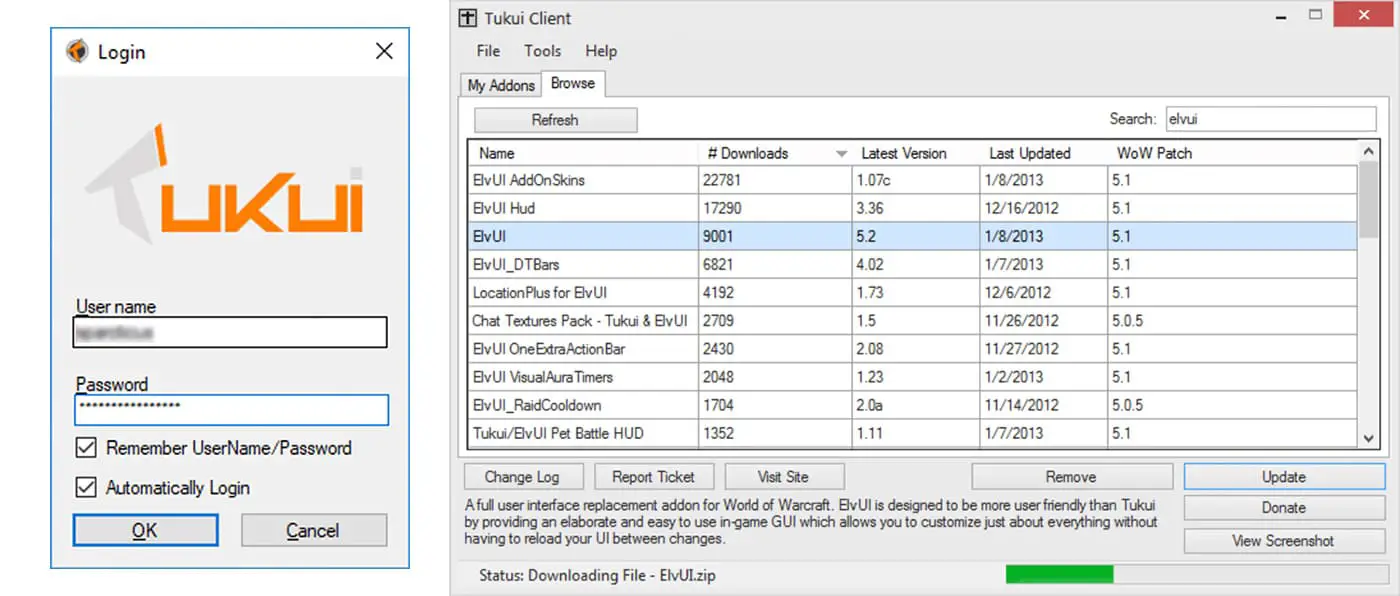
- Open your Tukui client app.
- Log in using your credentials.
- In the screen that pops up select any or all the modules you wish to update.
- Click on the “Update” option
Installing the client software from scratch:
- Go to the Tukui website and download the client on the top navigation bar, then “clients”.
- Next, select your operative system.
- Download the client Zip file
- Install the client app in your computer. This is done like any standard application install.
- Create an account on the Tukui website.
- Open your Tukui client app.
- Select from the list all the modules you wish to have.
- Lastly click “Install” to begin the installation.
Further steps on how to update ElvUI add-on
After the installation of the digital files, there is some sort of an onboarding with a set of steps you need to perform in the actual game. These are a means to initialize the settings with the basic amount of data. You can always come back and edit any of the settings . Once you run the game for the first time after installing ElvUI, you will see a welcome screen with 9 steps:
1. Welcome screen
There is no action required on this step, other than continue further ahead.
2. CVars
On this step you will be setting up your console variables. These have to do a lot with graphics, sound and the aspect of the game’s interface.
3. Chat
A the name implies, here you will be setting up the chat display options.
4. Profile
This step of the process is really important. If you were to have any other character with all the customization and settings for it, here is where you apply that existing character profile to any other.
5. Theme
You can select a completed initial setup for your account. You can always select a theme and then move ahead and customize it.
6. UI Scale
The system will setup the overall scale of your UI based upon your resolution settings.
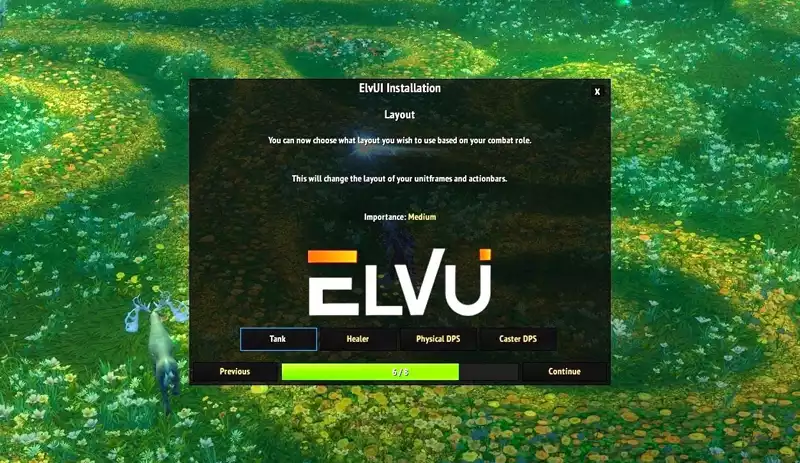
7. Layouts
Here you can define pre-built layout arrangements based on your class role.
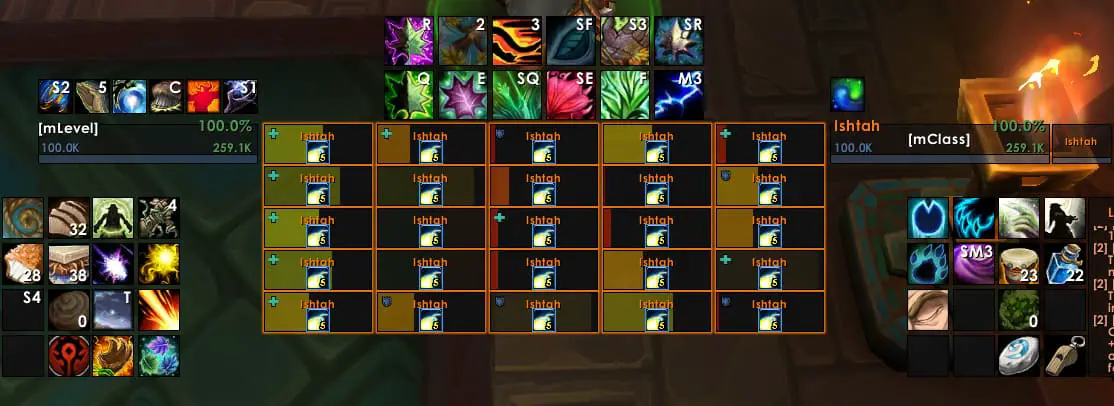
8. Auras
The aura system is how you track your buffs and de-buffs by using tracker bars or icons.
9. Installation complete
Congratulations, you completed the WoW ElvUI Installation.
More stories like this
- How to allocate more RAM to a game for improved performance
- The best Rocket League settings for PC: Optimizing your gameplay
- Microsoft acquires Activision Blizzard
- How to get the Blasphemous Blade in Elden Ring
- How to uninstall Genshin Impact on PC?
- What are the Best H1Z1 Settings for FPS Performance?