You can also be interested in these:
- Top 10 Nintendo switch games launching soon!
- Fallen Legion Flames of Rebellion Review
- Fixing a Nintendo Switch Lite that loses charge too fast
- Troubleshooting connectivity issues on an Xbox One Controller: A step-by-step guide
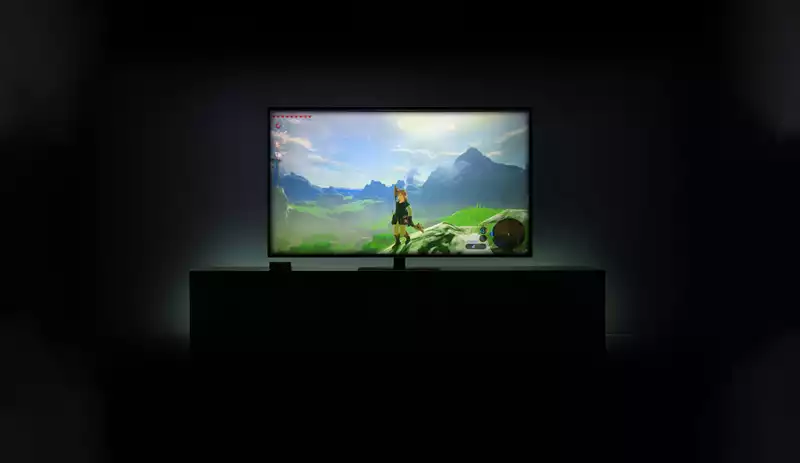
If you’ve been experiencing blurry images on your Nintendo Switch when is docked, don’t worry, you’re not alone. This is a common issue that many people have been struggling with. This article will provide some tips for fixing the blurry image and optimizing your display settings.
Tip Number 1
Check your TV settings – make sure the resolution is set to 1080p or higher. Also, check the image size setting on your TV – it should be set to “16:09”.
Tip Number 2
Hook up your Nintendo Switch to your Television using an HDMI cable. If your TV has an HDR setting, make sure it’s turned off. You can also connect your Switch to another HDMI port on your TV.
Tip Number 3
Check the position of your Switch console and make sure it’s as close to the center of the TV as possible. You can also try moving the Switch closer to or farther away from the TV until you find the optimal distance for a clear image.
Tip Number 4
Adjust the angle of your television. Tilting the screen up or down can sometimes improve clarity if you have a tilt-able TV. Finally, make sure the area around your TV is well-lit. A dark room can cause eye strain and make it more difficult to see a clear image on the screen.
Tip Number 5
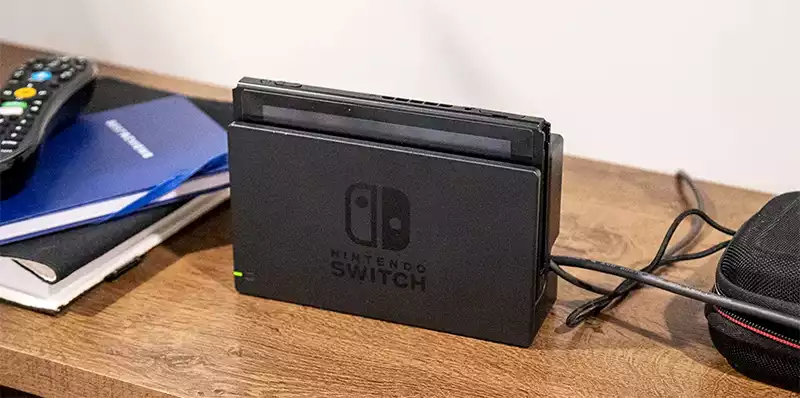
Ensure the dock is connected correctly to the TV and the Nintendo Switch console.
Tip Number 6
Check the HDMI cable to ensure it is firmly inserted into both the dock and the TV. If it is not, disconnect it and connect it back in.
If you use an older TV model that does not have an HDMI input, you will need to use a Wii U component cable or composite AV adapter instead. You can get these at most electronics stores.
Once everything is properly plugged in, power on your TV, and select the correct input, your Nintendo Switch should now be displayed on the screen.
Tip Number 7
Adjusting the television’s picture settings may improve the image quality. Consult your TV instruction manual for more information on how to do this.
If you are using an older TV model, you may need to purchase a special HDTV scaler to improve image quality. You can buy these on Internet or at most electronics stores.
Tip Number 8
Your Nintendo Switch console may be defective. In this case, you will need to contact Nintendo’s customer support for assistance.
Tip Number 9
Restart your Nintendo Switch and TV. This will fix a variety of display issues, including a blurry image.
Tip Number 10
Check your TV’s picture settings. If you can, adjust the sharpness or clarity setting until the image is no longer blurry.
Tip Number 11
Update your Nintendo Switch and Joy-Con controllers. Firmware updates often include fixes for common display issues. To check for updates, open System Settings on your Nintendo Switch and select “System,” then “System Update.” If there is an update available, follow the prompts to install it.
Tip Number 12
Replace your HDMI cable. If you’ve tried all of the above and the image is still blurry, your HDMI cable may be damaged or defective. Try using a different HDMI cable or consult with Nintendo support for further assistance.
Tip Number 13
Try adjusting the position of the dock on your TV stand. If it’s too close to the edge of the TV, or if something is obstructing the dock, that could be causing the image to appear blurry. Simply moving the dock a few inches can sometimes make a big difference.
Tip Number 14
Check the HDMI wire to ensure it’s tightly plugged in at both ends. If it’s not, disconnect it and connect it back in, pushing it firmly until you hear a click.
If that doesn’t work, try another HDMI port on your TV if you have one.
Tip Number 15
There may be something wrong with your Nintendo Switch console itself, and you’ll need to get it looked at by Nintendo. They may be able to fix it or replace it for you if it’s under warranty.
Tip Number 16
Another thing to try is cleaning the connectors on the Switch and the dock. Dirt or debris on the connectors, it can cause the image to be blurry. To clean the connectors, you can use a piece of cotton with rubbing alcohol.
Tip Number 17
Reset the Nintendo Switch by holding down the power button for about 10 seconds. This will reboot the system and may fix the issue.
Tip Number 18
It’s also possible that the problem lies with your TV itself. So first, check if your TV has a “game mode” or another setting that optimizes image quality for video games. If you have this setting, be sure to turn it on.
Tip Number 19
Try a different TV or monitor if possible.
Tip Number 20
Finally, ensure that your TV is set to display at its native resolution. If it’s not, the image on the Switch will appear stretched or blurry. To do this, consult your TV’s manual or look for a setting in its menu. Once you’ve made these changes, your Nintendo Switch should have a clear and crisp image on your TV.
Tip Number 21
Contact Nintendo customer support for more help if you’re still having trouble. They may be able to give you specific advice for your situation. In the meantime, you can try playing your Nintendo Switch in handheld mode if the image looks better on the Switch screen itself.
Conclusion
Hopefully, these tips will help you get the best possible image quality when playing your Nintendo Switch on TV! If you have any other questions or suggestions, feel free to send them in the contact page.
By following these tips, you can fix a blurry Nintendo Switch image on your TV when is docked. If after trying all these recommendations you still experience problems with your TV display you can check the Nintendo Switch troubleshooting guide for this specific problem to see if you can have a curated answer directly from the manufacturer. However, all the tips given in this guide are taken mostly from firsthand sources.
More stories like this
- Top 10 Nintendo switch games launching soon!
- Fallen Legion Flames of Rebellion Review
- Fixing a Nintendo Switch Lite that loses charge too fast
- Troubleshooting connectivity issues on an Xbox One Controller: A step-by-step guide
- How to fix NBA 2K22 error code 6f8ce31b?
- How to fix error code EFEAB30C on NBA2K