You can also be interested in these:
- How to change your security PIN in Samsung devices
- Full honest Samsung Galaxy Tab A6 review
- Google Pixel 6 will copy Samsung Galaxy S21 features
- Samsung Galaxy A52, A52 5G and A72 almost high-range
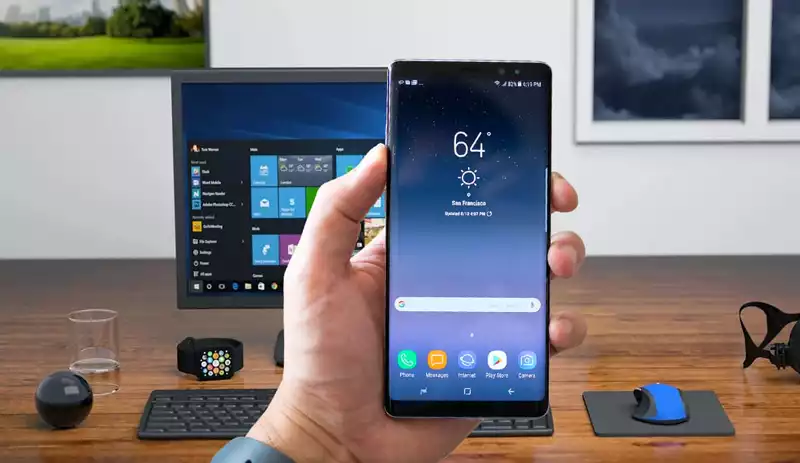
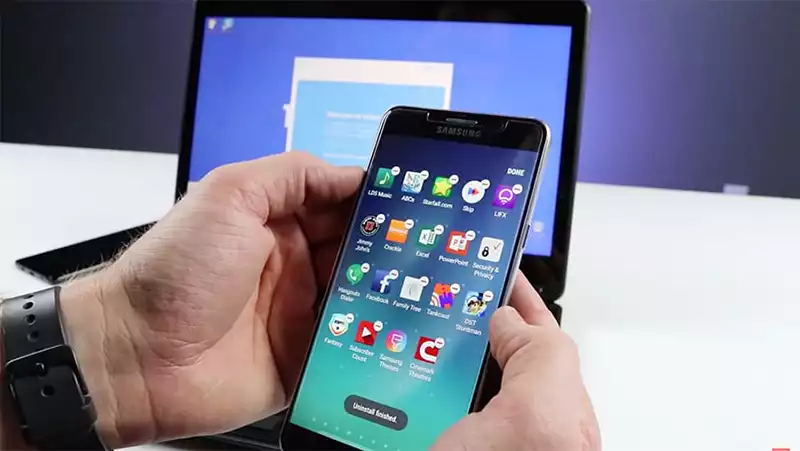
Samsung’s Galaxy Note line of smartphones are some of the most popular devices around, brandishing strong specifications, fast performance and a unique feature-sets in order to achieve this. So, if you’re the owner of one of these devices, it’s basically guaranteed that at some point, you’re going to want to know how to connect Note 8 to PC.

Why would I connect my Galaxy Note 8 to a PC?
Now, the Samsung Galaxy Note 8 has several functions that are related to connecting it to a PC, though you might not know about them if you aren’t on the tech savvy end of the spectrum. But worry not, we’ll be breaking down exactly why you’d want to do this, as well as how to do it. So, without further ado, let’s get into how to connect Note 8 to PC, as well as why you’d want to do it.
Transferring files between PC and Samsung Galaxy Note 8 with an USB cable
One of the main reasons you’d want to know how to connect Note 8 to a PC is to transfer files between both devices. Perhaps your phone’s storage has begun filling up with one too many pictures, and you’re looking to alleviate the problem by sending over some of them to your computer. Or maybe you’ve got an important document you’d like to keep on your phone that’s on your PC. You could even have some downloaded music you’d like to have on your smartphone.
Regardless of what reason you have, the method to doing this is the same, and it’s incredibly simple. Simply get a USB to USB-C cable, connect one end to your PC and the other end to you Samsung Galaxy Note 8. From there, you’ll want to pull down your smartphone’s notification bar and tap the option that allows for media transfer between devices.
Once you’ve done that, your PC should be able to easily interface with your Note 8, and you’ll be able to swap files around to your heart’s content. Do keep in mind however that Android smartphones like the Samsung Galaxy Note 8 have many files that are essential in keeping the device running, so don’t go around deleting folders if you don’t know what they do.

If you’ve finished transferring the files you need, all that’s left is to detach the two devices, which is as simple as unplugging either device. It’s a very simple process, one that people have been using for years and still remains as the easiest way to transfer files over devices. If you’re looking for other use cases however, read on to find out.
Transferring files between PC and Samsung Galaxy Note 8 via WiFi
If you’d prefer going wireless, don’t worry, there are other ways to transfer files between your Samsung Galaxy Note 8 and PC. One of these ways is through the use of Samsung’s very own Your Phone app, where you’ll sync your device with your PC. It’s a bit limited, but it’s easy to setup.
If you want to make interactivity between your Samsung Galaxy Note 8 and PC even more seamless, consider getting the Airdroid App, which allows your devices to interact and drop files between each other seamlessly, and it’s very easy to get it to work.
All you need to do is download the application on your smartphone, as well as on your PC. From there, the application will give you a quick guide on how to sync your devices, and from there it’s as simple as dragging and dropping files and folders you’d like to transfer. It has a lot of other functionality as well, so give it a look.
Using your Galaxy Note 8 as a hotspot through USB tethering
USB tethering is a feature that’s available on basically any Android device, and it’s also incredibly underutilized. To put it simply, USB tethering allows your PC to share your smartphone’s internet connection without needing to turn on the WiFi hotspot function. It’s more safe, more secure, provides faster speeds and can come in pretty handy in a pinch. Here, we’ll show you how to do it yourself.
First, you’ll want to connect your Samsung Galaxy Note 8 and PC with the use of a USB to USB-C cable, though you’re not going to select file transfer this time. Instead, head to your smartphone’s connectivity options in the settings menu and scroll until you find the option for USB tethering. From there, it’s as simple as enabling it and watching your PC get internet access wherever you are.
It’s important to keep in mind that using your Samsung Galaxy Note 8’s 4G connection will always be a bit slower compared to a dedicated WiFi router with fiber internet, but if you’re traveling and need to use your PC, it’s a great option to have available at any given time.
Mirroring your display to your PC through Samsung Flow
Samsung aren’t new to content mirroring, it’s been a feature on many of their flagship smartphones, and it’s also a feature on their Samsung Galaxy Note 8. Thankfully, it’s also quite easy to use, making for some fun and quick setups in case you’re planning to watch something with your family or have better control of your presentations.
To begin, you’ll want to download the Samsung Flow App, which makes pairing your PC and Galaxy Note 8 a lot easier and fuss free. From there, it’s just a matter of following the steps provided, turning on SmartShare and then selecting what content gets mirrored onto your PC. Everything can be controlled from your smartphone, so there are no worries there.
Conclusion
Samsung has made connectivity between your smartphones and PCs pretty simple and convenient, while also providing plenty of functionality out of the feature. It’s no surprise then that their devices are so popular, including the Samsung Galaxy Note 8 itself. We hope this article answered your questions on how to connect Note 8 to PC, and we’re looking forward to seeing what other features get added in the future.
More stories like this
- How to change your security PIN in Samsung devices
- Full honest Samsung Galaxy Tab A6 review
- Google Pixel 6 will copy Samsung Galaxy S21 features
- Samsung Galaxy A52, A52 5G and A72 almost high-range
- Samsung Galaxy S22 Overview
- Samsung Galaxy Z Flip 3 In-depth review